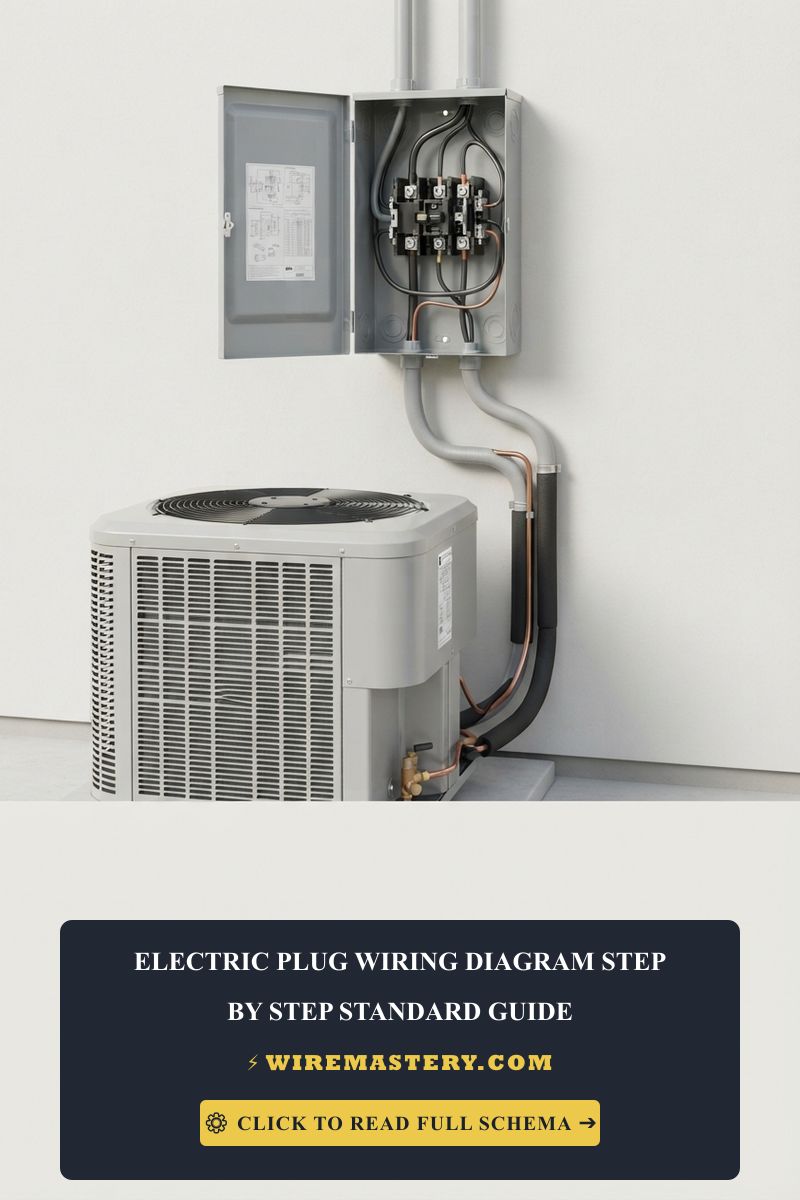
Electric Plug Wiring Diagram: Heavy-Duty Attachment Plugs
Executing a code-compliant, electrical assembly to wire or replace a damaged heavy-duty attachment plug on a flexible appliance cord demands strict precision, structural terminal identification, and robust strain relief mechanics. In North American residential and commercial infrastructures, an attachment plug cap (professionally classified under NEC parameters as an attachment plug or male cord cap) serves as the primary physical bridge linking mobile appliance conductors to live stationary receptacle outlets. Because these flexible cord assemblies are subjected to continuous dynamic pulling friction, drops, and outdoor atmospheric wear, they undergo rapid structural degradation. Wiring an attachment plug loosely or under-sizing the wire clamp layout creates a high-resistance hotspot, inducing dangerous localized carbon arcing or exposing raw hot copper strands directly to the user’s skin.
This reference manual outlines the physical mechanics of mechanical cord grips, asymmetric stripping ratios for safety ground preservation, and advanced multitester diagnostic workflows.
Core Attachment Plug Engineering Parameters
Before uncoupling housing compression screws or preparation loops on flexible cord strands, decode these foundational trade thresholds:
- The Absolute Isolation Mandate: Under no circumstances should an installer utilize bulk electrical insulation tape wrap inside the internal terminal chamber of a replacement male cord cap. Modern replacement plugs (such as commercial-grade Leviton or Hubbell modules) incorporate individual, integrated nylon insulation pocket partitions that fully encapsulate each wire conductor path. Adding layers of tape crowds the compact chamber, causing wires to pinch and shear when tightening the outer housing screws.
- The Asymmetric Stripping Rule (The Ground Loop Safety Net): When preparing the flexible cord jacket, the bare or green equipment grounding conductor must be cut and stripped at least 1/2 inch longer than the hot and neutral line wires. This calculated length asymmetry ensures that if the cord experiences a catastrophic mechanical pulling stress that bypasses the outer strain relief clamp, the current-carrying hot and neutral wires will rip loose from their screw terminals first, while the safety ground wire remains firmly anchored to drain fault currents cleanly down to the earth.
- The Cord Type Compatibility Constraint: Replacement plugs are engineered to clamp onto specific flexible cord classifications (such as Type SJT, SJOOW, or SOOW heavy-duty rubber jackets). Attempting to wire thin, low-power parallel zip cords inside a heavy industrial 15A/20A plug housing violates certification guidelines.
Technical Materials & High-Impedance Assembly Toolkit Checklist
Safely clearing damaged jacket sections and securing stranded wire terminations requires specific trade instruments and certified hand tools:
| Electrical Assembly Tool | Primary Engineering Purpose & Safety Threshold |
|---|---|
| True RMS Digital Multimeter | Used in unpowered continuity mode to cross-verify zero terminal short circuits before grid connection. |
| Ratcheting Stranded Strippers | Precision jaw notches calibrated to strip flexible stranded wire cores without slicing copper threads. |
| Insulated Robertson Screwdriver | Square-drive #1 insulated tip to torque terminal clamp plate screws down tight without head slips. |
| Heavy-Duty Utility Knife | Equipped with a fresh hook blade to score and strip thick rubber outer cord jackets safely. |
| ANSI Z87.1+ Safety Glasses | High-impact polycarbonate lenses protecting eyes from stray flying copper strands. |
Flexible Cord Gauges & Amperage Capacity Boundaries (NEC Table 400.5)
Sizing or replacing an attachment plug requires a deep understanding of flexible cord ampacity metrics, which are completely separate from standard residential wall Romex cables. Builders reference the strict loading limits of NEC Table 400.5:
- 14 AWG Stranded Copper Three-Conductor Cord (Type SJOOW / SJT): Calibrated to safely handle continuous current draws up to 15 Amps maximum. Universal standard for high-draw residential appliances including portable space heaters, heavy-duty power tools, and deep-room window AC packs.
- 12 AWG Stranded Copper Three-Conductor Cord (Type SOOW): Calibrated to safely handle continuous current draws up to 20 Amps maximum. Mandatory for industrial workshop environments, commercial air compressors, and heavy site extension cord matrices.
Technical Phase 2: Step-by-Step Replacement Blueprint & Compression Controls
Executing the physical termination of an attachment plug cap requires careful management of fine-stranded wire filaments. Standard solid wire hooks are completely illegal here; flexible cords utilize high-strand conductors that must be clamped flat under specialized pressure plates.
1. Step-by-Step Field Blueprint: Wiring a 3-Prong Commercial Cord Cap
To wire a replacement 15A or 20A male attachment plug safely and cleanly, execute this precise trade sequence on your workbench:
- Isolate the Component Environment: Ensure the flexible cord is fully unplugged and separated from any wall receptacle box enclosure. Never open or manipulate a plug casing while it is connected to a power grid potential.
- Jacket Scoring and Asymmetric Wire Trimming: Slice the outer rubber jacket back exactly 1.5 inches using your utility knife. Strip 1/2 inch of PVC insulation off the black and white current-carrying wires. Trim the black and white wires back by exactly 1/2 inch, leaving the green grounding conductor at its full 1.5-inch extended length to satisfy the asymmetric safety ground net protocol.
- Terminal Block Identification and Wire Insertion: Slide the outer housing shell of the replacement plug down over the cord jacket before wrapping copper. Twist the fine stranded wire filaments of each core tightly clockwise between your fingers to prevent stray hairs from splaying outward. Insert the cores directly into the matching terminal slots:
- The Black Hot Conductor: Anchor deep into the pocket clamped by the Brass Gold screw.
- The White Neutral Conductor: Anchor deep into the pocket clamped by the Silver Chrome screw.
- The Green Ground Conductor: Anchor deep into the pocket clamped by the Hex Head Green screw.
- Securing the Strain Relief Clamp Assembly: Slide the outer housing shell back up over the inner core module. Tighten the rear retaining face screws square and snug. Tighten the two primary mechanical strain relief collar clamp screws directly over the thick outer rubber jacket of the cord. Torque these screws until the clamp teeth compress the rubber firmly, fully preventing physical wire tension from transferring to the internal copper terminals during use.
🛠️ Stranded Core Tinning Maintenance Note: Look closely at the industrial equipment layouts displayed across our high-amperage tool maintenance manuals. Notice that flexible stranded copper wires tend to cold-flow and spread apart inside screw terminals over extensive vibrational service cycles, loosening the mechanical torque grip. Experienced shop technicians use a temperature-controlled soldering station to apply a micro-thin layer of rosin-core solder directly to the stripped stranded tips before assembly, a trade process known as Tinning. Tinning binds the fine copper filaments into a solid, un-yielding cylindrical shank that accepts permanent terminal pressure plate torque without crushing or arcing.
Troubleshooting Common Attachment Plug Failures
- The Connected Tool Shuts OFF and Sparks When the Cord is Wiggled: This behavior indicates a severe internal conductor strand shear or loose termination fault. It occurs when an amateur installer scores the fine copper threads with a blade during jacket preparation or strips wires counter-clockwise. The remaining threads overheat under load and arc apart. Disconnect the plug immediately, clip the wire back by 3 inches to reach undamaged rubber, and rebuild the terminal connections using correct wire stripping settings.
- The Plug Faceplate Gets Exceptionally Hot to the Touch Under Load: An absolute symptom of oxidized blade contact interfaces or loose pressure plate clamps. If the brass plug prongs are pitted, bent, or scaled with carbon soot from historical receptacle arcs, contact resistance multiplies. This resistance converts current into intense thermal heat, threatening to melt the nylon casing. Clean the blades with fine steel wool or discard the old plug cap and replace it with a new commercial-grade assembly.
- The Primary Subpanel GFCI Breaker Trips the Instant the Cord is Plugged In: This symptom confirms a stray wire hair short circuit fault. When packing the wire bundles into a tight replacement plug casing without utilizing the nylon isolation slots, a single microscopic strand of copper from the black hot line can splay out laterally and touch the silver neutral terminal screw or the ground frame. Use your digital multimeter in unpowered continuity mode to sweep the prongs; if the buzzer emits a beep between any blades, an internal short is present, requiring you to open the shell and clean the wire strands.
National Electrical Code Appliance Cord Regulations
Adhering to strict national installation codes protects your home electronics investment, maintains property valuation, and ensures full property insurance compliance. The National Electrical Code strictly regulates flexible cords, attachment plug caps, and portable equipment under NEC Article 400 (Flexible Cords and Cables) and Article 406 (Receptacles, Cord Connectors, and Attachment Plugs):
- Prohibition of Plug Alterations (NEC 406.10): Attachment plugs must be listed, labeled, and deployed strictly in accordance with their design voltage and amperage parameters. Altering a 3-prong grounding plug by clipping off the third green ground pin to force it inside an older ungrounded 2-slot receptacle box enclosure is a critical federal code violation that voids property insurance liability and introduces direct shock hazards.
- Strain Relief Compliance Mandates (0NEC 400.10): Flexible cords must be connected to devices and activation plugs so that tension will not be transmitted directly to the internal termination joints, explicitly requiring the use of listed mechanical cord grips or compression collars to suppress carbon arcing fire hazards.
For the NFPA 70 provisions relevant to this guide on Electric Plug Wiring Diagram: Heavy-Duty Attachment Plugs, consult the Official NFPA 70: National Electrical Code (NEC).
Conclusion
This article explains attachment plug terminal configurations, executing calculated asymmetric stripping protocols to prioritize safety ground pathways, and securing industrial-grade mechanical strain relief clamps transforms casual cord maintenance into a highly controlled science. By keeping flexible cord ampacities completely aligned with NEC Table 400.5 thermal limits, avoiding dangerous uninsulated taping shortcuts inside compact plug gutters, and enforcing strict compliance with NEC Article 406 blade parameters, you build an exceptionally resilient, safe portable grid ecosystem. For final checks, complete electrical grid disconnection before handling wire tails, deploy CAT III certified multimeters in continuity mode to trace hidden shorts, and complete every mechanical component calibration with safety-first precision.







