How to Install Solar Panel Wiring: A Beginner's Guide
Introduction
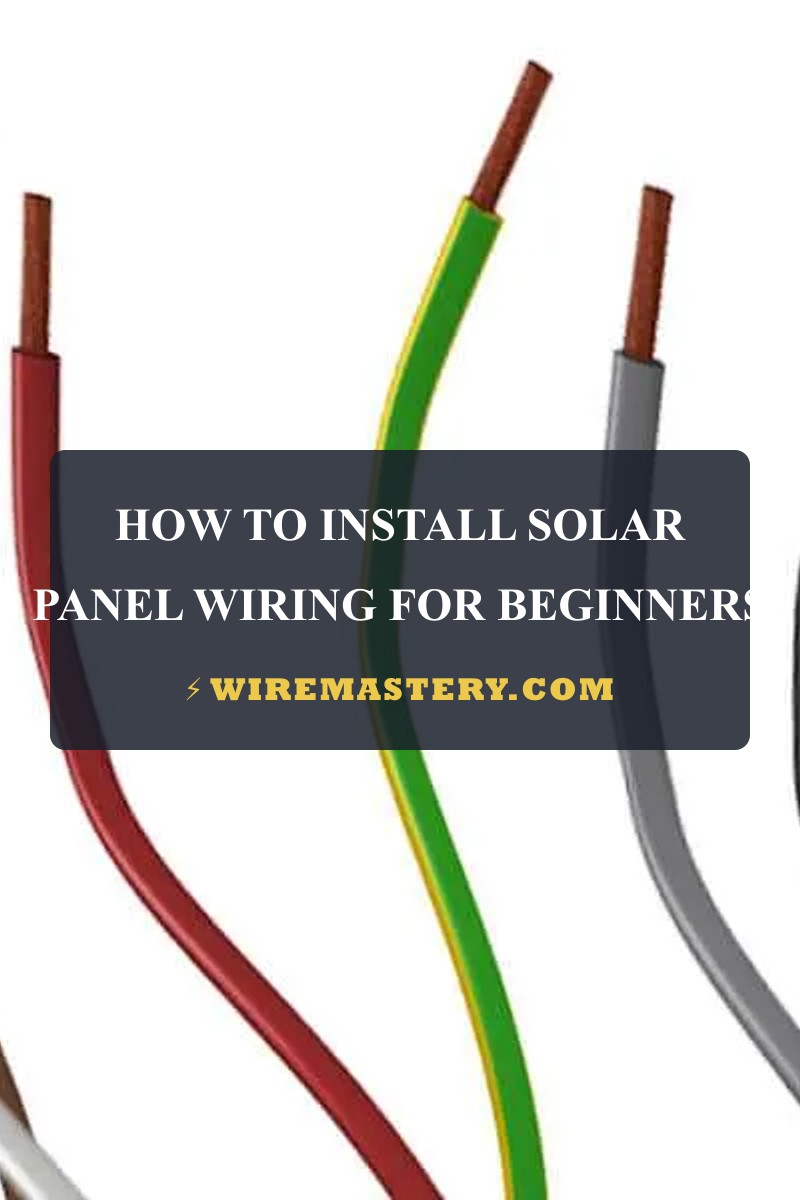
⚠️ NEC Code Compliance Note: While some solar reference charts display grounding wires with green and yellow stripes (the international IEC standard), residential photovoltaic installations in the United States must strictly adhere to the National Electrical Code (NEC). Under NEC regulations, equipment grounding conductors must be either solid green or bare copper. Always verify your local utility and jurisdiction requirements before sourcing your PV cables.
Installing solar panel wiring is a crucial step in harnessing solar energy for your home. While the technology behind solar panels is complex, wiring them together can be straightforward if you follow the right procedures. This guide is tailored for beginners who want to understand how to efficiently install solar panel wiring, ensuring safety and optimal performance. We’ll cover everything from essential tools to detailed step-by-step instructions while highlighting common mistakes to avoid.
Tools You’ll Need
| Tool | Description |
|---|---|
| Wire Strippers | For stripping insulation from wires. |
| Crimping Tool | For crimping connectors onto the ends of wires. |
| Multimeter | For testing voltage and ensuring proper connections. |
| Screwdriver Set | For securing panels and other components. |
| Drill and Drill Bits | For making holes in mounting surfaces, if necessary. |
| Cable Ties | For organizing and securing wiring. |
| Electrical Tape | For insulating and securing connections. |
| Safety Glasses | To protect your eyes while working. |
| Work Gloves | To protect your hands from sharp edges and electrical components. |
| Level | For ensuring your panels are aligned correctly. |
Safety Warning
Before beginning any electrical work, it is crucial to prioritize safety. Always wear personal protective equipment, including gloves and safety glasses. Disconnect all power sources before working on the system, and consider consulting a qualified electrician if you are unsure about any steps in the process. Familiarize yourself with local electrical codes and regulations to ensure compliance.
Step-by-Step Installation Guide
1. Plan Your System Layout
Determine the Location: Assess your property for optimal sunlight exposure. The south-facing roof is generally ideal.
Calculate Needs: Define how much energy you want to generate and select the appropriate number of solar panels.
Document Layout: Sketch a diagram showing where each panel will be installed, including the path for the wiring.
2. Gather Your Materials
Make sure you have all the necessary components, including:
- Solar panels
- Inverter(s)
- Mounting brackets
- Wiring (typically 10 AWG or 12 AWG for DC wiring)
- Connectors (MC4 connectors are common)
- Junction box (if needed)
3. Install Solar Panels
Mounting: Secure the mounting brackets to your roof using bolts and screws. Use a level to ensure they are straight.
Attach Panels: Insert solar panels into the mounted brackets and secure them in place according to the manufacturer’s instructions.
4. Prepare Wiring
Cut Wire to Length: Measure and cut the wire to the required lengths based on your layout.
Strip Wire Ends: Use wire strippers to remove about 1/2 inch of insulation from the ends of each wire.
5. Connect Solar Panels
Series or Parallel: Decide whether to connect your panels in series (increases voltage) or parallel (increases current). Series connections are made by connecting the positive terminal of one panel to the negative terminal of the next.
Use MC4 Connectors: Crimp MC4 connectors onto the ends of your wires where necessary. Ensure a secure and weatherproof connection.
6. Route Wiring to Inverter
Run Wiring: Route the wiring from the solar panels to the inverter location. Use cable ties to secure the wiring along the mounting path to prevent sagging and exposure.
Drill Holes: If you need to pass wires through walls or the roof, drill appropriate holes and use grommets to protect the wire insulation.
7. Connect to Inverter
Follow Instructions: Connect the positive and negative wires from your panels to the inverter input terminals, ensuring correct polarity.
Secure Connections: Use electrical tape to secure connections, ensuring they are insulated from moisture and debris.
8. Connect to Electrical System
Disconnect Main Power: Before connecting the inverter to your home’s electrical system, ensure the main power is shut off.
Connect Inverter Output: Connect the inverter output to your home electrical panel according to local codes. If you’re unsure, it’s advisable to consult a licensed electrician.
9. Testing
Use Multimeter: Before powering on, use a multimeter to check the voltage at various points in your system. This will ensure everything is connected correctly.
Power On: Reconnect main power and turn on the inverter. Monitor the system to ensure it’s operating correctly.
Common Mistakes to Avoid
- Incorrect Wiring: Always double-check polarities. Reversing connections can damage your equipment.
- Neglecting Local Codes: Failing to comply with local electrical codes can lead to unsafe installations.
- Overlooking Weatherproofing: Ensure all connections, especially those exposed to the elements, are sufficiently sealed.
- Using Inappropriate Wire Gauge: Using wire with too small a gauge can lead to overheating and inefficiency. Use at least 10 AWG for most applications.
- Rushing the Process: Take your time to ensure each step is completed correctly. A rushed job can lead to mistakes and safety hazards.
Technical Summary
Installing solar panel wiring involves careful planning and execution to ensure safety and efficiency. Start by determining your layout and gathering all necessary materials. Properly mount your solar panels, prepare your wiring, and make secure connections using appropriate techniques. Always adhere to safety precautions and local regulations. By following this guide, you will be equipped to successfully install solar panel wiring, setting the foundation for a sustainable energy solution for your home.







