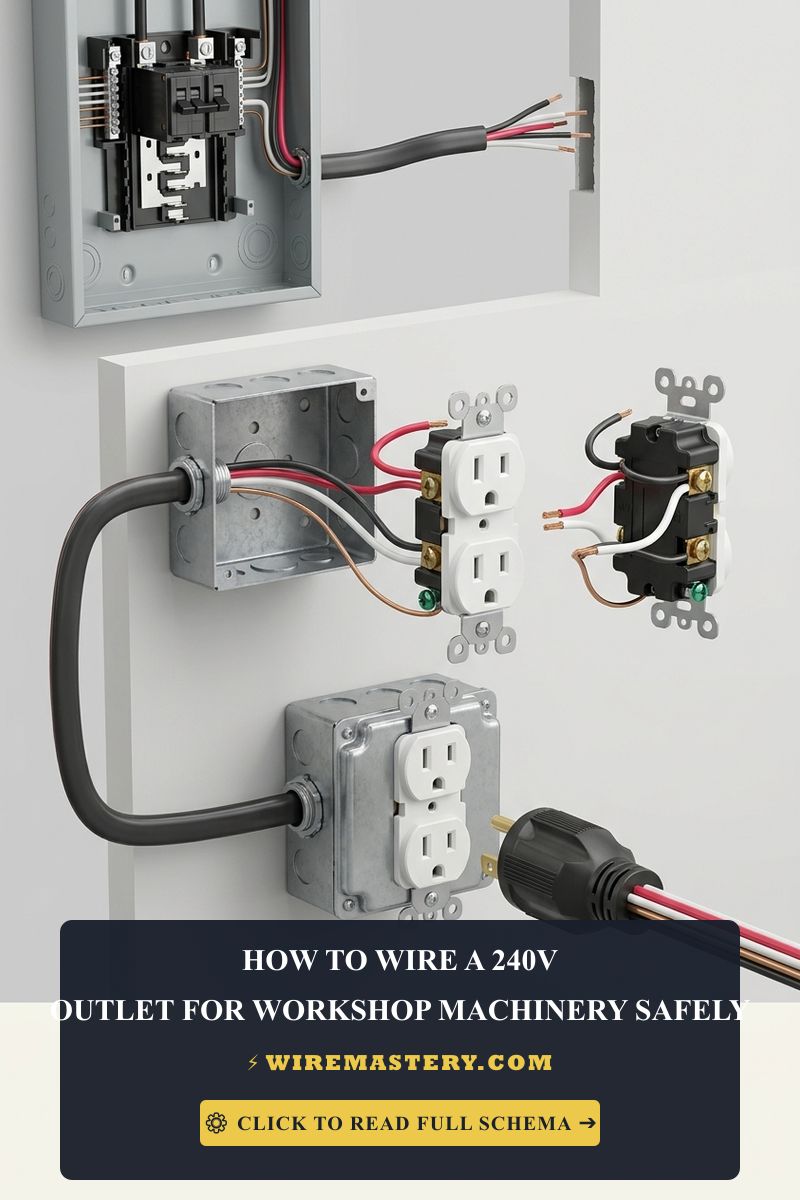
How to Wire a 240V Outlet for Workshop Machinery Safely
Wiring a 240V outlet for workshop machinery is a crucial task that requires careful planning, adherence to safety standards, and knowledge of electrical codes. This guide will provide detailed information on tools, materials, and techniques necessary for safely installing a 240V outlet in your workshop, ensuring compliance with the National Electrical Code (NEC).
Table of Contents
- Understanding 240V Circuits
- Tools and Materials Needed
- Safety Precautions
- Wiring Basics
- Step-by-Step Wiring Instructions
- NEC Code Requirements
- Testing the Outlet
- Common Troubleshooting Tips
- Conclusion
Understanding 240V Circuits
A 240V circuit is typically used for heavy-duty appliances and machinery that require more power than standard 120V circuits can provide. Common workshop machinery that may require a 240V outlet includes:
- Table saws
- Welders
- Air compressors
- Lathes and milling machines
These machines often have motors that require higher voltage to operate efficiently, and wiring them correctly is essential for both functionality and safety.
Circuit Characteristics
- Voltage: 240V
- Amperage: Varies by appliance (typically between 20A and 50A)
- Phase: Single-phase is common in residential settings
- Wire Size: Depends on the amperage (typically 10, 8, or 6 AWG)
Tools and Materials Needed
Before starting your project, ensure you have the necessary tools and materials:
Tools
- Voltage Tester: To check for live wires
- Wire Strippers: For stripping insulation off wires
- Screwdrivers: Flathead and Phillips for terminal connections
- Drill: For making holes if needed
- Fish Tape: To pull wire through walls
- Wire Cutters: For cutting wire to length
- Level: For ensuring the outlet box is straight
Materials
- 240V Outlet Receptacle: Choose a receptacle rated for the amperage of your machinery (NEMA configurations vary)
- Circuit Breaker: Must match the amperage of the outlet (20A, 30A, etc.)
- Wire: Appropriate gauge copper or aluminum wire (10 AWG for 30A, 8 AWG for 40A, and 6 AWG for 50A)
- Outlet Box: Metal or plastic, depending on local codes
- Conduit: For protection of wires (if required)
- Wire Nuts: For making secure wire connections
- Electrical Tape: For additional insulation
Safety Precautions
Before starting any electrical work, prioritize safety. Here’s a checklist to follow:
- Turn Off Power: Ensure the power is turned off at the circuit breaker before starting any work.
- Use Personal Protective Equipment (PPE): Wear safety goggles and insulated gloves.
- Check Local Codes: Ensure compliance with local electrical codes and regulations.
- Have a Buddy System: If possible, have someone nearby who can assist in case of emergencies.
- Keep the Work Area Dry: Avoid working in wet conditions to reduce the risk of electric shock.
Wiring Basics
Electrical Terminology
- Hot Wire: Carries the current (typically black or red in 240V systems).
- Neutral Wire: Not used in most 240V circuits but may be present in some configurations (usually white).
- Ground Wire: Provides a path for electrical current to reduce shock hazards (usually bare copper or green).
Wire Gauge Selection
Choosing the correct wire gauge is crucial for safety and performance. The following table provides guidance based on amperage:
| Amperage | Wire Gauge |
|---|---|
| 20A | 12 AWG |
| 30A | 10 AWG |
| 40A | 8 AWG |
| 50A | 6 AWG |
Circuit Breaker Selection
Select a circuit breaker that matches the amperage required for your outlet and is compatible with your electrical panel.
Step-by-Step Wiring Instructions
Follow these steps carefully to ensure proper installation of your 240V outlet.
Step 1: Plan Your Circuit
- Determine the location of the outlet based on the machinery’s requirements.
- Plan the path for the wiring, avoiding areas with potential hazards.
Step 2: Turn Off Power
- Locate your circuit breaker panel.
- Turn off the breaker that supplies power to the area where you will be working.
Step 3: Install the Outlet Box
- Cut a hole in the wall for the outlet box if necessary.
- Secure the outlet box to the wall using screws.
Step 4: Run the Wiring
- Cut a length of wire long enough to reach from the circuit breaker to the outlet box.
- Use fish tape to pull the wire through the wall to the outlet box.
Step 5: Connect the Wires to the Outlet
- Strip approximately ¾ inch of insulation from the ends of the wires.
- Connect the hot wires (usually black and red) to the corresponding terminals on the outlet.
- Connect the ground wire (bare or green) to the ground terminal on the outlet.
- If applicable, connect the neutral wire (white) to the outlet (most 240V circuits do not require a neutral).
Step 6: Connect the Wires at the Circuit Breaker
- Open the breaker panel and locate the circuit breaker slot.
- Connect the hot wires to the breaker terminals.
- Connect the ground wire to the ground bus bar in the panel.
- Ensure all connections are tight and secure.
Step 7: Install the Circuit Breaker
- Insert the circuit breaker into the panel and ensure it is properly seated.
- Close the panel cover securely.
Step 8: Test the Outlet
- Turn the power back on at the circuit breaker.
- Use a voltage tester to ensure the outlet is functioning correctly.
NEC Code Requirements
Familiarizing yourself with NEC codes is essential for ensuring compliance and safety. Here are some key points related to 240V outlets:
- Article 210: Covers branch circuits; distinguishes between general-purpose and individual circuits.
- Article 406: Outlines requirements for receptacles, including installation standards and configurations.
- Article 250: Discusses grounding and bonding requirements which must be strictly adhered to.
- NEMA Configurations: Be aware of the specific NEMA configurations for your outlet type (e.g., NEMA L6-30 for 30A, NEMA L14-30 for 30A with neutral).
Testing the Outlet
After installation, thorough testing is crucial to ensure the outlet functions as intended.
- Voltage Test: Use a voltage tester to confirm that the outlet is delivering 240V.
- Load Test: Plug in the workshop machinery and check for proper operation.
- Check Connections: Ensure there are no loose wires or faulty connections.
Troubleshooting
If the outlet does not work as expected, consider the following common issues:
- Breaker Tripping: Indicates an overload or short circuit. Check the load on the circuit.
- No Power: Verify that the circuit breaker is on and that connections are secure.
- Voltage Issues: If the voltage tester indicates a lower voltage, check for loose or damaged wires.
Conclusion
Wiring a 240V outlet for workshop machinery is a significant task that requires careful attention to detail and adherence to safety standards. By following this comprehensive guide, you can ensure a safe and functional installation that meets NEC requirements. Always prioritize safety, consult a licensed electrician if you are unsure, and remember that proper installation not only protects your equipment but also enhances the safety of your workspace.







