How to Wire a 5 Pin Rocker Switch
Introduction
Wiring a 5 pin rocker switch might seem daunting at first, but with the right tools, materials, and some basic electrical knowledge, you can successfully complete the task. A rocker switch is commonly used in various applications, from automotive to home appliances. This guide will walk you through the entire process, ensuring you feel confident and equipped to wire your switch safely and effectively.
Tools and Materials Needed
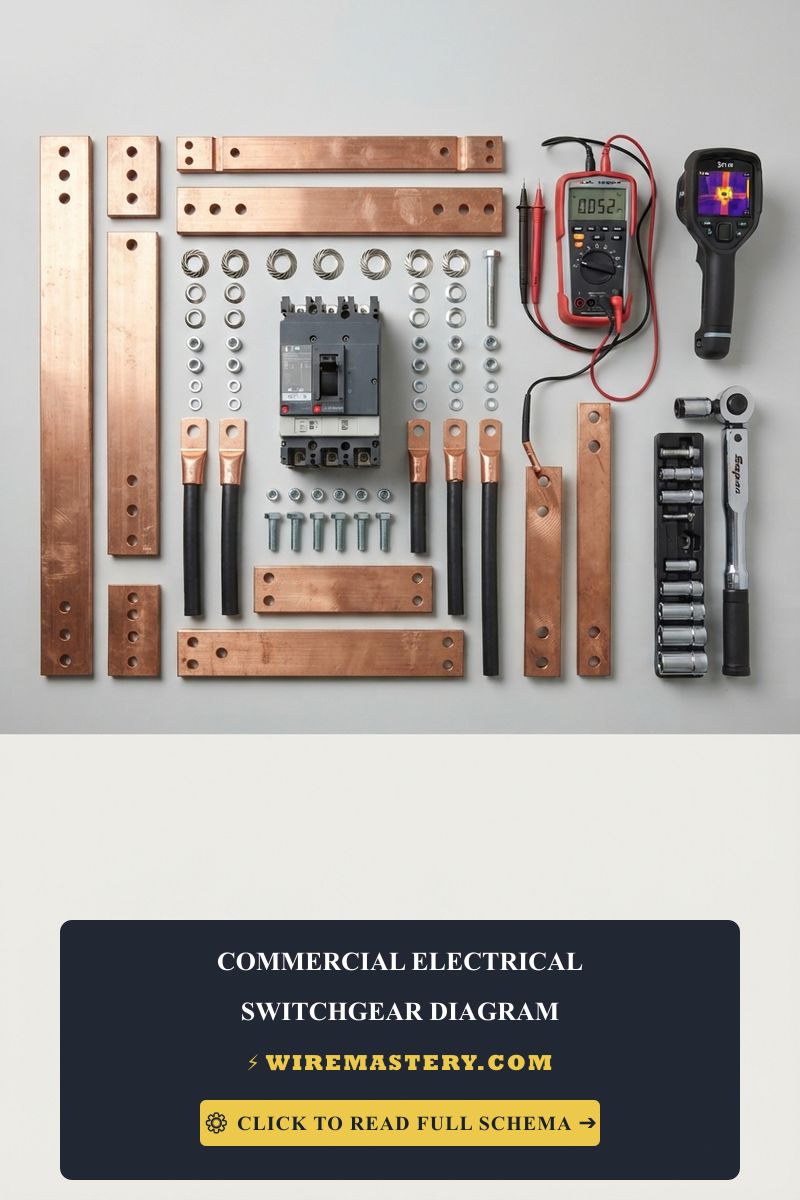
Before you begin, gather the following tools and materials. Refer to the table below for a comprehensive list.
| Tools | Materials |
|---|---|
| Wire stripper | 5 pin rocker switch |
| Screwdriver (flat & Phillips) | Electrical wires (various gauges) |
| Multimeter | Heat shrink tubing or electrical tape |
| Soldering iron (optional) | Connectors or terminal blocks |
| Safety goggles | Wire connectors (if necessary) |
| Electrical tester | Labels (for identification) |
Safety Precautions
Safety is paramount when working with electrical components. Follow these precautions to ensure a safe wiring experience:
- Turn Off Power: Always turn off the power supply at the circuit breaker before starting any electrical work.
- Use Safety Gear: Wear safety goggles to protect your eyes from debris and gloves to prevent electrical shock.
- Verify No Live Wires: Use an electrical tester to confirm that no wires are live before touching them.
- Work in a Dry Environment: Ensure your workspace is dry to prevent electrical hazards.
- Follow Local Codes: Familiarize yourself with local electrical codes and regulations, as they may vary by region.
Step-by-Step Instructions
Step 1: Understand the Rocker Switch Pins
A 5 pin rocker switch typically has the following configuration:
- Pin 1: Common (COM) – Power supply input
- Pin 2: Normally Open (NO) – Connected when the switch is on
- Pin 3: Normally Closed (NC) – Connected when the switch is off
- Pin 4: Auxiliary or additional function (if applicable)
- Pin 5: Ground or return path (if applicable)
Familiarizing yourself with these pins will make wiring easier.
Step 2: Prepare the Wires
- Strip the Wires: Use a wire stripper to remove about half an inch of insulation from the ends of the wires you’ll be connecting to the switch.
- Twist or Tin the Ends: If using stranded wire, twist the strands together. If you’re soldering, consider tinning the ends for a better connection.
Step 3: Connect the Wires to the Switch
- Identify the Pins: Look at the back of the rocker switch to see the pin configuration. Consult the switch’s datasheet if necessary.
- Connect the Common Pin (Pin 1): Connect the power supply wire to the common pin. This wire will carry the voltage to the switch.
- Connect the Normally Open Pin (Pin 2): If you want the switch to activate a device when pressed, connect the device’s wire to the normally open pin.
- Connect the Normally Closed Pin (Pin 3): If you want the device to be powered when the switch is off, connect it here.
- Connect the Auxiliary Pin (if applicable): If your switch has an additional function, connect any additional wires accordingly.
- Connect the Ground Pin (if applicable): If your switch requires a ground connection, attach the ground wire to this pin.
Step 4: Secure the Connections
- Use Heat Shrink Tubing or Electrical Tape: After making the connections, use heat shrink tubing or electrical tape to insulate each connection. This prevents shorts and enhances safety.
- Double-Check Connections: Make sure all connections are tight and secure. Loose connections can lead to arcing or failure.
Step 5: Test Your Work
- Restore Power: Turn the power back on at the circuit breaker.
- Test the Switch: Use a multimeter to ensure that voltage is flowing correctly when the switch is activated. If everything is functioning as intended, you should see a change in voltage readings.
- Inspect for Issues: Look for any signs of overheating or arcing. If you notice anything unusual, turn off the power and check your connections.
Common Mistakes
Here are some common mistakes to avoid when wiring a 5 pin rocker switch:
- Incorrect Pin Connections: Always double-check the pin configuration before making connections. Miswiring can lead to circuit failure or damage.
- Neglecting Safety Precautions: Skipping safety measures can result in electrical shock or fire hazards. Always prioritize safety.
- Over-tightening Connections: While it’s essential to have secure connections, over-tightening can damage the switch or wires.
- Using Incorrect Wire Gauge: Using a wire gauge that’s too thin can lead to overheating. Always use the appropriate gauge for your application.
- Failing to Test After Wiring: Always test your work before sealing up the switch. This ensures everything is functioning correctly and safely.
Conclusion
Wiring a 5 pin rocker switch can be a straightforward task if you follow the proper steps and take necessary precautions. By understanding the pin configurations, preparing your wires correctly, and ensuring secure connections, you can achieve a successful installation. Remember to always prioritize safety and adhere to local electrical codes. With practice, you’ll gain the confidence to tackle more complex wiring projects in the future. Happy wiring!