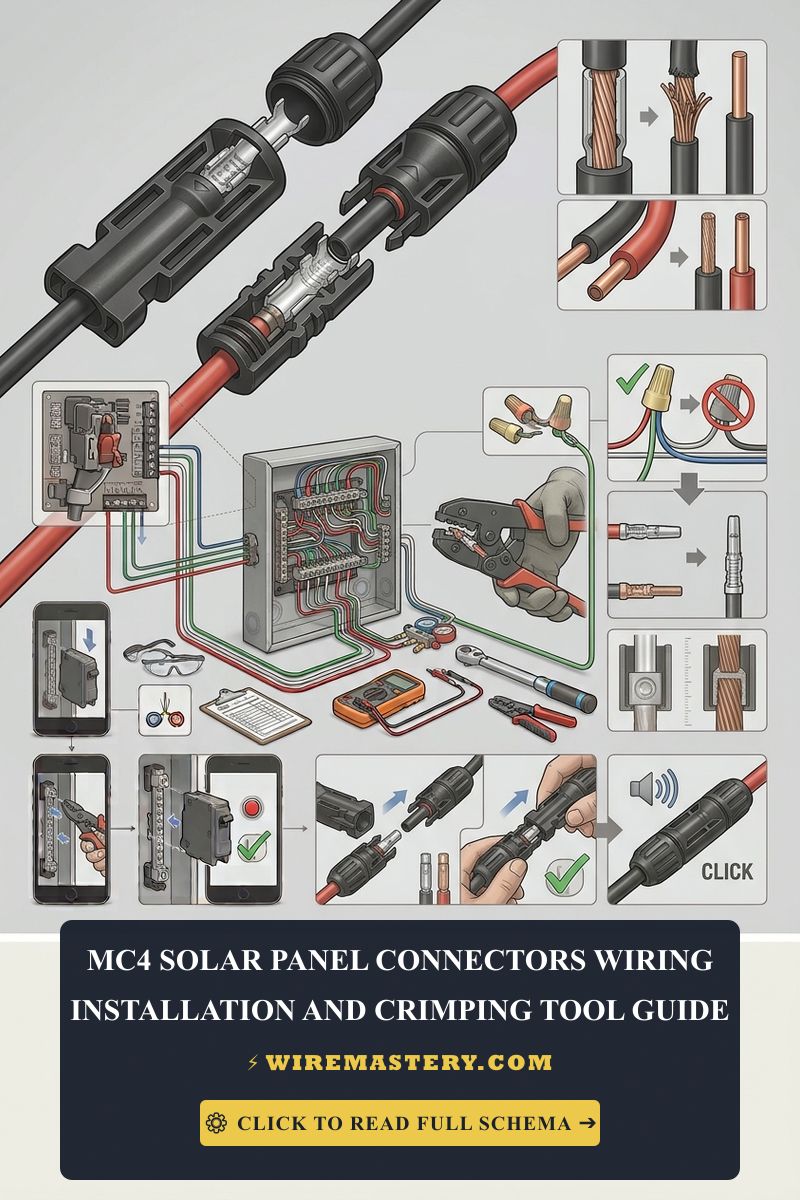
MC4 Solar Panel Connectors: Wiring, Installation & Crimping Guide
When it comes to solar panel installation, ensuring a secure and reliable electrical connection is paramount. MC4 connectors are the standard choice for connecting solar panels, recognized for their durability and ease of use. This guide will delve into the intricacies of MC4 solar panel connectors, including wiring installations, the crimping process, and important safety considerations. By adhering to these guidelines, you can ensure a professional-grade installation compliant with National Electrical Code (NEC) standards.
Understanding MC4 Connectors
What are MC4 Connectors?
MC4 connectors are a type of electrical connector used to interconnect solar panels in photovoltaic systems. They are designed to be weatherproof, allowing them to withstand harsh environmental conditions. Key features include:
- Polarized Design: Prevents improper connections.
- Locking Mechanism: Ensures a secure connection that resists disconnecting due to vibrations or external forces.
- Compatibility: Designed to work with a variety of solar panel manufacturers.
Applications of MC4 Connectors
- Residential Solar Installations: Connecting solar panels in home systems.
- Commercial Solar Projects: Used in larger photovoltaic arrays.
- Off-grid Systems: Ideal for RVs, boats, and other off-grid applications.
Tools Required for Installation
To properly install MC4 connectors, you will need the following tools:
1. Crimping Tool
A specialized crimping tool is essential for attaching the connectors to the wires securely. Look for a tool that meets the following criteria:
- Adjustable Die: Allows for different wire gauges.
- Ergonomic Handle: Provides comfort during prolonged use.
- High-Quality Materials: Stainless steel components for durability.
2. Wire Strippers
Wire strippers help to remove insulation from the wire without damaging the conductor. Choose a wire stripper that:
- Covers Multiple Gauges: Should work for a range of wire sizes typically used in solar installations (usually 10 AWG to 14 AWG).
- Precision Cutting: Ensures clean cuts to prevent fraying.
3. Multimeter
A multimeter is essential for checking continuity and ensuring proper voltage levels. Features to consider include:
- Digital Display: Easier to read than analog.
- Auto-ranging: Automatically adjusts resistance and voltage levels.
4. Heat Shrink Tubing
Heat shrink tubing provides additional insulation and protection against moisture. Ensure the tubing is:
- UV Resistant: To prevent degradation from sunlight.
- Appropriate Size: Fits snugly over the connector and wire joint.
5. Additional Safety Gear
Safety should always be a priority. Equip yourself with:
- Safety Glasses: Protect your eyes from debris.
- Gloves: Insulated gloves to protect against electrical shock.
- Hard Hat: If working on rooftops or elevated structures.
Choosing the Right Wire Gauge
Selecting the correct wire gauge is critical for efficient power transmission and safety. The National Electrical Code (NEC) provides guidelines for wire sizes based on the current they will carry. Here are some general recommendations:
Wire Gauge Recommendations
- 10 AWG: Suitable for short runs (up to 50 feet) and systems producing high currents (up to 30A).
- 12 AWG: Ideal for medium-length runs (up to 100 feet) and moderate current applications (up to 20A).
- 14 AWG: Typically used for longer runs (over 100 feet) and lower current systems (up to 15A).
NEC Compliance
Consult NEC Article 690 for specific requirements related to solar installations, including:
- Overcurrent Protection: Ensure that the wire gauge and circuit breakers match to prevent overheating.
- Grounding: Follow NEC guidelines for grounding systems to ensure safety.
Preparing for Installation
Before beginning the installation, you should follow these preparatory steps:
1. Safety Checklist
- Ensure that all power sources are turned off.
- Wear appropriate safety gear.
- Verify that all tools are in good working condition.
- Review NEC guidelines specific to your installation.
2. Plan the Layout
- Determine the locations of your solar panels and how many connectors you will need.
- Create a wiring diagram to visualize connections and routes.
Wiring Installation Steps
Follow these detailed steps for a successful wiring installation with MC4 connectors:
Step 1: Measure and Cut Wires
- Measure the required length of wire needed to connect the solar panels to the inverter or charge controller.
- Use wire cutters to cut the wire to the appropriate lengths.
Step 2: Strip the Wire Ends
- Use wire strippers to remove approximately 0.5 inches of insulation from both ends of each wire.
- Ensure that the copper strands are not damaged or frayed.
Step 3: Prepare the MC4 Connectors
- Open the MC4 connector by unscrewing the housing.
- Insert the stripped end of the wire into the connector until it reaches the bottom.
Step 4: Crimp the Connector
- Position the crimping tool on the connector and squeeze firmly to secure the wire in place.
- Ensure that the crimp is tight and that no copper strands are visible.
Step 5: Assemble the Connector
- Once crimped, attach the connector housing back onto the connector.
- Ensure it clicks into place, indicating a secure connection.
Step 6: Test the Connection
- Use a multimeter to check for continuity and ensure that the connections are secure.
- Measure the voltage at the connectors to confirm that they are functioning correctly.
Safety Considerations
Safety should always be your top priority. Here are essential safety tips for working with solar panel wiring:
- Avoid Working in Wet Conditions: Water and electricity are a dangerous combination. Ensure your workspace is dry.
- Check for Voltage: Always verify that circuits are de-energized before working on them.
- Secure Loose Wires: Use zip ties or clips to prevent wires from becoming a tripping hazard.
- Install Circuit Breakers: Use appropriate breakers to protect the system from overloads.
Troubleshooting Common Issues
Even with careful installation, issues can arise. Here are common problems and their solutions:
1. No Power Output
- Check Connections: Ensure all connectors are securely attached and properly crimped.
- Inspect for Damage: Look for frayed wires or damaged connectors.
- Test Voltage: Use a multimeter to check for voltage at various points in the system.
2. Overheating Connectors
- Check Wire Gauge: Ensure that you are using the correct wire gauge for the current.
- Inspect for Short Circuits: Look for exposed wires or improper connections.
- Verify Load Requirements: Make sure that the system is not drawing more current than the connectors and wires can handle.
Conclusion
Proper installation of MC4 solar panel connectors is crucial for ensuring the safety and efficiency of your solar energy system. By utilizing the right tools, following NEC guidelines, and adhering to safety protocols, you can achieve a professional-grade installation. Remember that ongoing maintenance and monitoring of your system will help prevent issues and maximize energy production. By following this comprehensive technical guide, you are well on your way to successfully integrating solar power into your home or project.







