Smart Lock Installation: Wiring Loops & Central Home Integration
Smart locks are an increasingly popular choice for homeowners, offering enhanced security and convenience through the integration of technology into traditional locking mechanisms. However, the installation of smart locks and their integration with central smart home controls requires careful planning and execution, particularly when it comes to wiring loops and adhering to electrical codes. This guide will provide a comprehensive overview of the installation process, including the necessary tools, wire gauges, and safety protocols to ensure a successful smart lock installation.
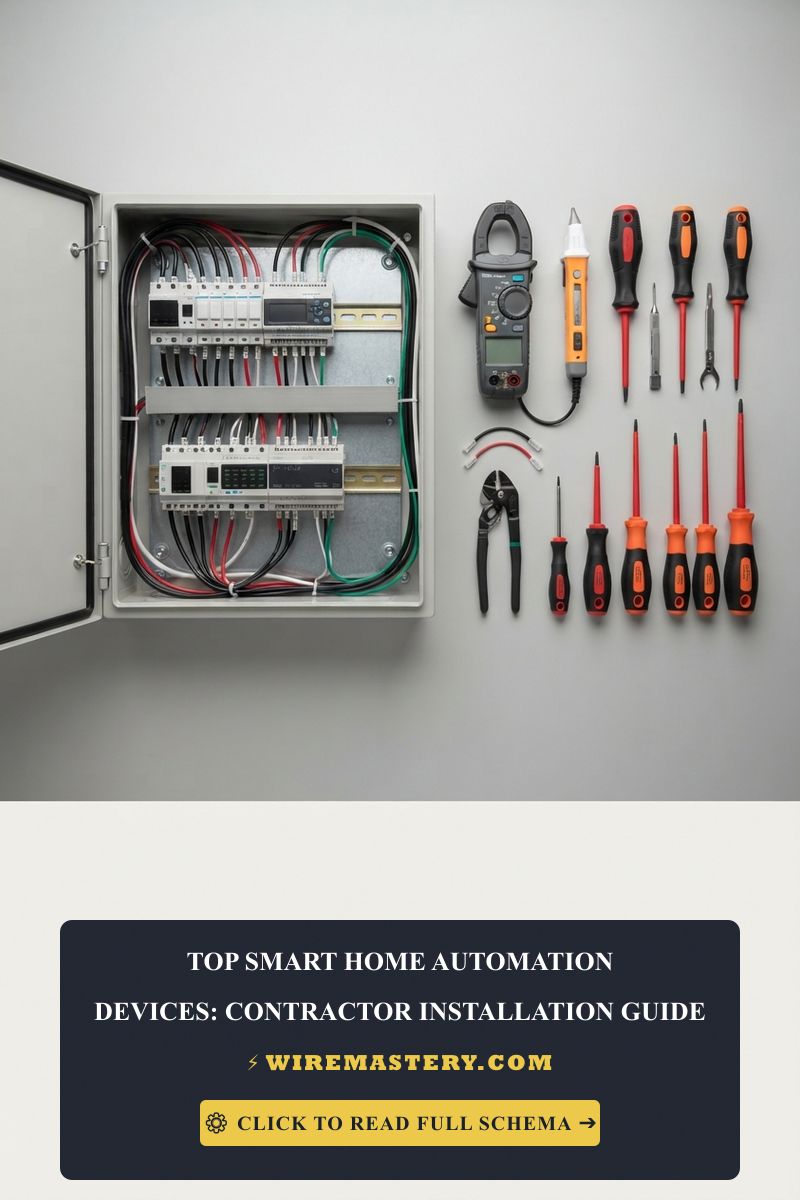
Tools and Equipment Required
Before beginning the installation, gather the following tools and materials:
Tools
- Screwdrivers: Phillips and flat-head screwdrivers for installing the smart lock.
- Wire Strippers: For preparing the electrical wiring.
- Drill: A cordless drill with appropriate bits for creating holes if needed.
- Voltage Tester: To ensure the power is off before working on electrical connections.
- Fish Tape: Useful for routing wires through walls.
- Multimeter: For measuring voltage, current, and resistance.
Materials
- Smart Lock: Ensure compatibility with home automation systems.
- Wiring: Appropriately gauged wire (typically 18-22 AWG for low voltage).
- Wire Nuts: For securely connecting wires.
- Electrical Tape: For insulation of wire connections.
- Mounting Bracket: If required for your specific smart lock model.
- Batteries: If your smart lock operates wirelessly.
Safety Equipment
- Safety Glasses: Protect eyes from debris.
- Gloves: Prevent electric shock and protect hands during installation.
Understanding Wiring Loops
Wiring loops are crucial for connecting smart locks to your home’s electrical systems. Understanding how to create and maintain these loops is essential for ensuring reliability and safety.
Types of Wiring Loops
- Closed Loop: All electrical connections are continuous, allowing current to flow without interruption.
- Open Loop: Involves breaks in the circuit that can be used for signals or other functions.
Wiring Specifications
- Wire Gauge: Use 18-22 AWG for low-voltage applications. Thicker wires (lower AWG number) are needed for higher current applications.
- Wire Type: Use stranded wire for flexibility in tight spaces, and solid wire for permanent installations.
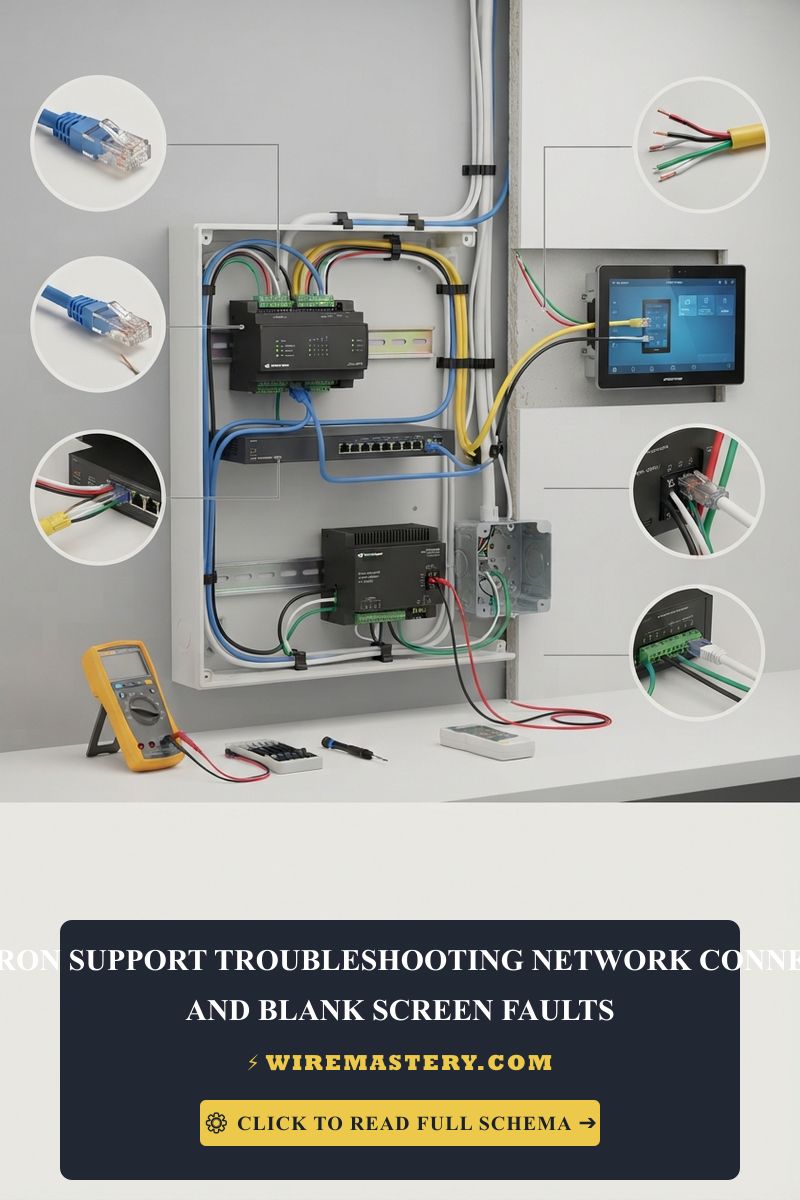
Wiring Configuration
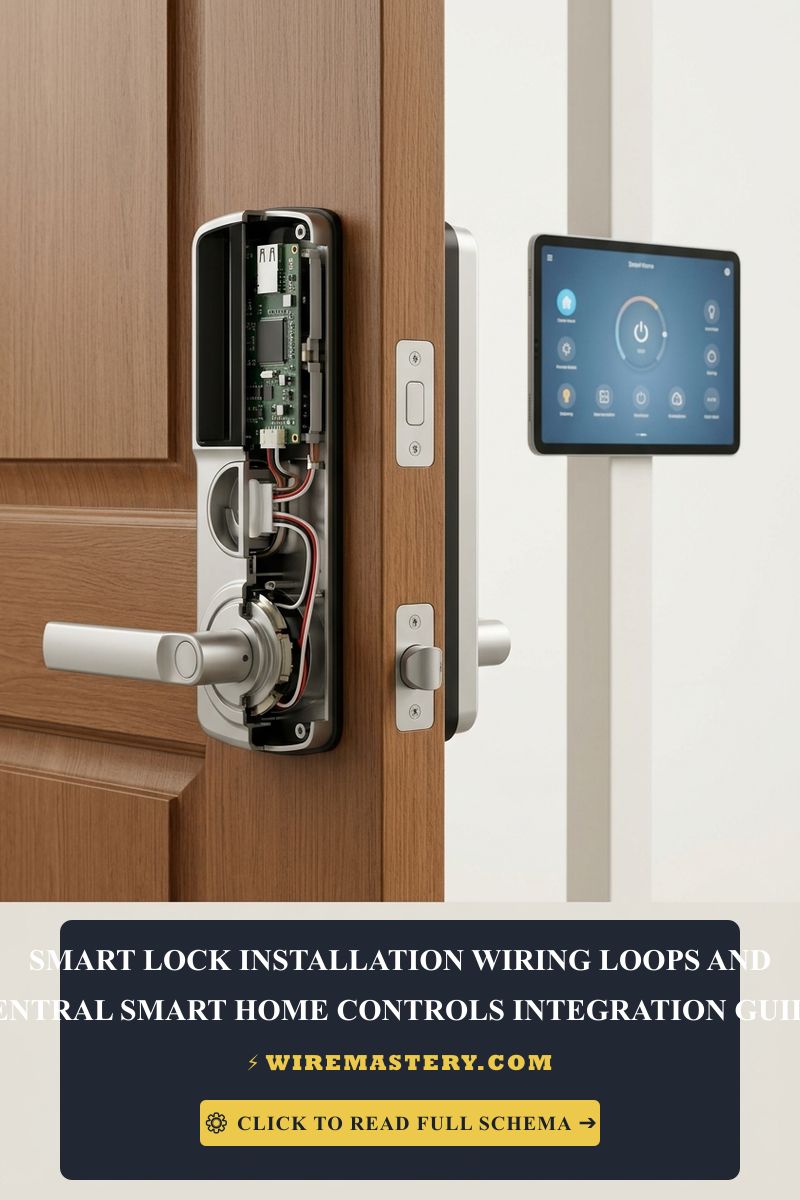
A typical smart lock will require power and communication lines. Here’s a basic setup:
- Power Supply: Connect the smart lock to a low-voltage power source (usually 12V DC).
- Data Lines: If integrating with a smart home hub, ensure proper data line connections (such as Z-Wave or Zigbee).
Installation Process
Follow these steps for a successful smart lock installation:
Step 1: Prepare the Door
- Remove Existing Lock: Use a screwdriver to take off the current lock mechanism.
- Inspect Door Hardware: Ensure the door is in good condition and that the new smart lock will fit properly.
- Drill New Holes: If necessary, drill new holes for the smart lock installation, following the manufacturer’s guidelines.
Step 2: Wiring the Smart Lock
- Turn Off Power: Use a voltage tester to ensure there is no electrical current.
- Run Wires: Use fish tape to route wires from the power source to the location of the smart lock.
- Connect Power:
- Strip the ends of the wires and connect them to the smart lock according to the manufacturer’s wiring diagram.
- Use wire nuts to secure connections and wrap with electrical tape for insulation.
Step 3: Integrate with Smart Home Controls
- Choose a Hub: Select a compatible smart home hub (e.g., SmartThings, Apple HomeKit).
- Connect to Hub: Follow the manufacturer’s instructions to connect the smart lock to the hub, typically through a mobile app.
- Test Connectivity: Ensure that the smart lock can communicate with the hub and other smart devices.
Step 4: Final Assembly and Testing
- Mount the Smart Lock: Secure the lock to the door using screws provided in the kit.
- Install Batteries: If applicable, insert the required batteries for backup power.
- Test the Lock: Ensure the lock operates correctly both manually and through the smart home app.
Safety Checklist
- Power Off: Always ensure the power is off before starting any electrical work.
- Test Connections: Use a multimeter to verify electrical connections.
- Secure Wiring: Make sure all wires are properly insulated and secured to prevent short circuits.
- Follow Manufacturer Guidelines: Adhere to specific instructions provided with the smart lock.
Maintenance and Troubleshooting
Regular maintenance of your smart lock is crucial to ensure longevity and reliability.
Maintenance Tips
- Check Batteries: Regularly inspect and replace batteries as needed.
- Firmware Updates: Keep the smart lock’s firmware updated for security and functionality.
- Inspect Wiring: Periodically check for any signs of wear or damage to wires.
Common Issues and Solutions
- Lock Not Responding: Ensure that the power supply is connected and working.
- Connectivity Issues: Check the smart home hub settings and ensure the lock is within range.
- Mechanical Failure: If the lock jams, ensure it is correctly aligned and free from obstructions.
NEC Compliance & Official Safety Standards
Adhering to the National Electrical Code (NEC) is crucial for ensuring the safety and legality of electrical installations in residential settings. The NEC sets standards for the installation of electrical wiring and equipment to prevent hazards such as electrical shock, fire, and equipment damage.
Importance of Compliance
- Safety: Following NEC regulations minimizes risks associated with electrical installations.
- Insurance: Non-compliance may lead to issues with home insurance claims in the event of an electrical fire or accident.
- Property Value: Properly installed electrical systems can enhance property value and appeal.
For further information on current regulations and safety standards, you can refer to the Official NFPA 70: National Electrical Code (NEC).
Conclusion
Installing a smart lock and integrating it with central smart home controls can significantly enhance your home’s security. By following this comprehensive guide, you can ensure a successful installation while adhering to safety standards and electrical codes. Always prioritize safety and compliance, and don’t hesitate to consult a licensed electrician if you encounter any challenges.