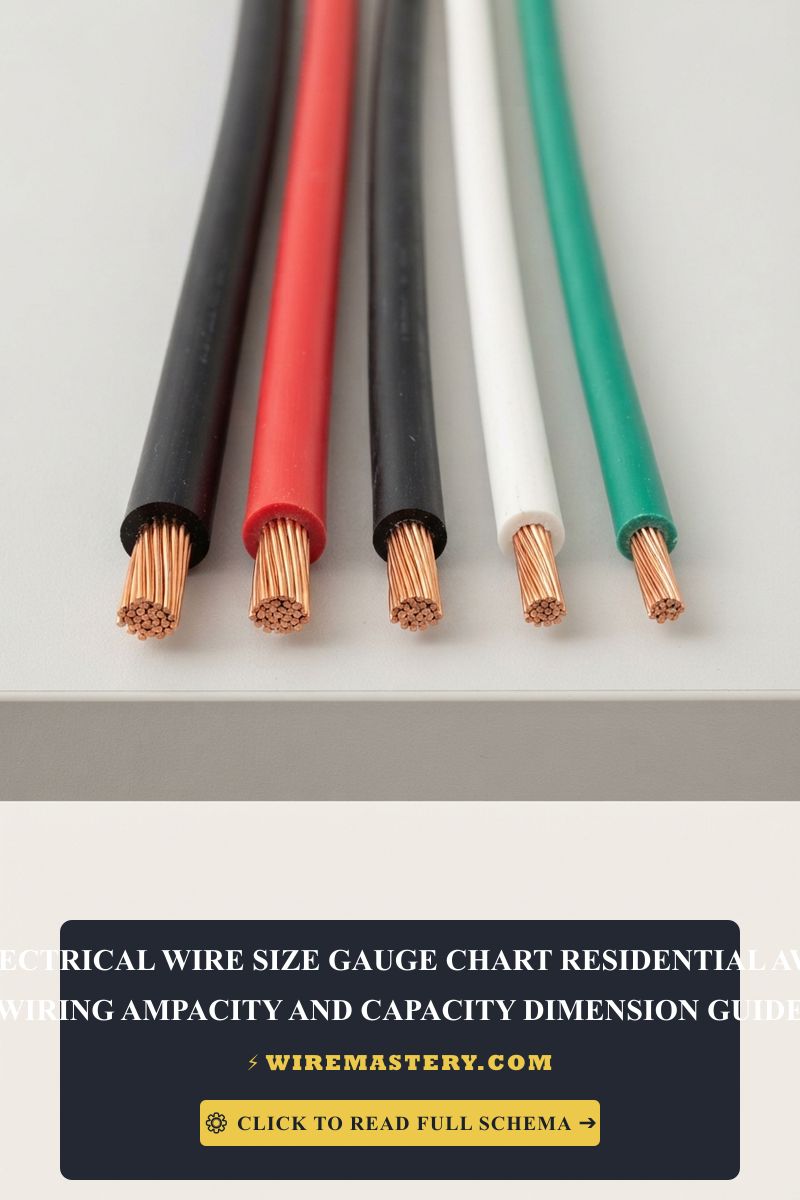
Electrical Wire Size Gauge Chart: Residential AWG Ampacity Guide
Understanding electrical wire sizes, specifically the American Wire Gauge (AWG) system, is crucial for anyone involved in residential electrical work. This guide will delve into wire gauge specifications, ampacity, and necessary dimensions, while emphasizing safety and compliance with the National Electrical Code (NEC). Properly selecting the correct wire size is essential for efficient and safe electrical installations, and this document aims to provide a thorough understanding for contractors, electricians, and DIY enthusiasts.
Wire Gauge Basics
Understanding AWG
The American Wire Gauge (AWG) is a standardized wire gauge system used in the United States for electrical wiring. Wire sizes are designated by a number; the smaller the number, the larger the wire. For example, a 10 AWG wire is thicker than a 14 AWG wire.
- Larger Diameter: Smaller gauge numbers (like 10 AWG) have a larger diameter and can carry more current.
- Smaller Diameter: Higher gauge numbers (like 14 AWG) are thinner and suitable for lower current applications.
- 18 AWG: Most commonly used for residential low-voltage control circuits. This is the standard cable size required when tackling a smart thermostat installation to power your HVAC control board.
Importance of Wire Size
Choosing the correct wire size is vital for:
- Preventing Overheating: Incorrect wire sizes can lead to overheating and potential fire hazards.
- Improving Efficiency: Properly sized wiring minimizes voltage drop, ensuring efficient power delivery.
- Compliance: Following NEC guidelines is essential for safety and legality.
Ampacity: What You Need to Know
Ampacity refers to the maximum amount of electric current a conductor or device can carry before sustaining immediate or progressive deterioration. The ampacity of a wire depends on several factors, including:
- Wire Size (AWG)
- Insulation Type
- Ambient Temperature
- Installation Conditions (e.g., conduit vs. free air)
Ampacity Chart
Here’s a simplified ampacity chart for common copper wire sizes used in residential applications:
| AWG Size | Ampacity (60°C) | Ampacity (75°C) | Ampacity (90°C) |
|---|---|---|---|
| 14 | 15 A | 15 A | 20 A |
| 12 | 20 A | 25 A | 30 A |
| 10 | 30 A | 35 A | 40 A |
| 8 | 40 A | 50 A | 55 A |
| 6 | 55 A | 65 A | 75 A |
| 4 | 70 A | 85 A | 95 A |
| 2 | 95 A | 115 A | 130 A |
| 1 | 110 A | 130 A | 150 A |
| 1/0 | 125 A | 150 A | 170 A |
| 2/0 | 145 A | 175 A | 195 A |
| 3/0 | 165 A | 195 A | 225 A |
Key Takeaways on Ampacity
- Always refer to the specific insulation type when determining ampacity.
- Installation conditions greatly affect the maximum current capacity of the wire.
- Consider using a larger wire size if the installation is in a hotter environment or if the wire runs a long distance to minimize voltage drop.
Factors Influencing Wire Size Selection
Load Calculation
Before selecting a wire size, conduct a load calculation to determine the total amperage required for your circuit. Follow these steps:
-
Identify Circuits: List all devices and appliances to be connected to the circuit.
-
Calculate Load: Sum the wattage of all devices. Use the formula:
Amps = Watts / Volts
-
Consider Future Expansion: Add 20% to the calculated load for future-proofing.
Distance and Voltage Drop
Voltage drop is the reduction in voltage in the electrical circuit between the source and the load. The acceptable voltage drop is typically up to 3% for branch circuits and 5% for feeders. To calculate the voltage drop:
Voltage Drop (V) = (2 × Length (feet) × Amps × Resistance (ohms/1000 ft)) / 1000
Installation Environment
The installation environment can significantly impact the wire’s performance:
- Temperature: Higher ambient temperatures require larger wire sizes due to reduced ampacity.
- Conduit vs. Free Air: Wires in conduit have lower ampacity due to restricted airflow compared to those installed in free air.
Tools Required for Wire Installation
Essential Tools
- Wire Strippers: For removing insulation from wire ends.
- Crimping Tool: To attach terminals or connectors securely.
- Multimeter: For measuring voltage, current, and resistance.
- Fish Tape: For routing wires through walls and conduits.
- Voltage Tester: To ensure the circuit is de-energized before working.
Safety Equipment
- Insulated Gloves: To protect against electric shock.
- Safety Goggles: To shield eyes from debris.
- Hard Hat: For overhead protection in construction zones.
Safety Checklist
Before commencing any electrical work, adhere to this safety checklist:
- De-energize Circuits: Always turn off power at the breaker panel before starting.
- Use Proper Insulation: Ensure wires are correctly insulated for the environment.
- Install Grounding: Verify that all circuits are adequately grounded to prevent shock hazards.
- Follow Local Codes: Always comply with local building codes and ordinances.
- Inspect Tools: Ensure all tools and equipment are in good condition and appropriate for the job.
NEC Compliance & Official Safety Standards
Adhering to NEC regulations is critical in ensuring that all electrical installations are safe, reliable, and efficient. The NEC provides guidelines for wire sizing, installation methods, and material specifications to prevent electrical hazards. Non-compliance may lead to serious safety risks, including fire and electrocution.
For more information on current safety standards and compliance measures, refer to the Official NFPA 70: National Electrical Code (NEC).
Conclusion
Selecting the appropriate electrical wire size is a fundamental aspect of residential electrical work. By understanding the AWG system, ampacity, and the factors influencing wire selection, you can ensure safe and effective installations. Always prioritize safety, utilize the right tools, and comply with NEC standards to protect both yourself and the structure you are working on. Proper planning and execution will not only enhance the performance of the electrical system but also ensure the safety and longevity of your installations.







